
❤️ thank you! It’s a lot of balancing but the end result is going to be worth all the effort, I’m sure.
Small scale permaculture nursery in Maine, education enthusiast, and usually verbose.
- 25 Posts
- 12 Comments
Joined 3 years ago
Cake day: June 10th, 2023
You are not logged in. If you use a Fediverse account that is able to follow users, you can follow this user.
We’ve been in the planning and prepping phase getting ready for serious renovations on our house, and it’s been difficult spreading my attention between house stuff, nursery stuff, and parenting an I Do/ runner of a toddler. Now the only things in our living room are a speaker, my wife’s workstation, and a chair, our daughter is helpful in the garden (if the gate is closed), and I’m basically prepped for market season which starts Saturday. I kinda feel like that last dollop of jam in the jar that’s probably not enough but the peanut butter has already been spread and this sandwich is happening no matter what. The anxiety has been keeping me from engaging with the online communities that I love, and that lack of interaction has honestly only compounded things.
So, I’ve missed you all and hope you don’t mind that I had to hunker down so much to survive the hardest adulting in my life.
Yes, I definitely think it’s worth saving each section (I have a problem, and the problem is not enough plants). Those couple of shorter sections should be just fine for the few days it will take for them to begin rooting.
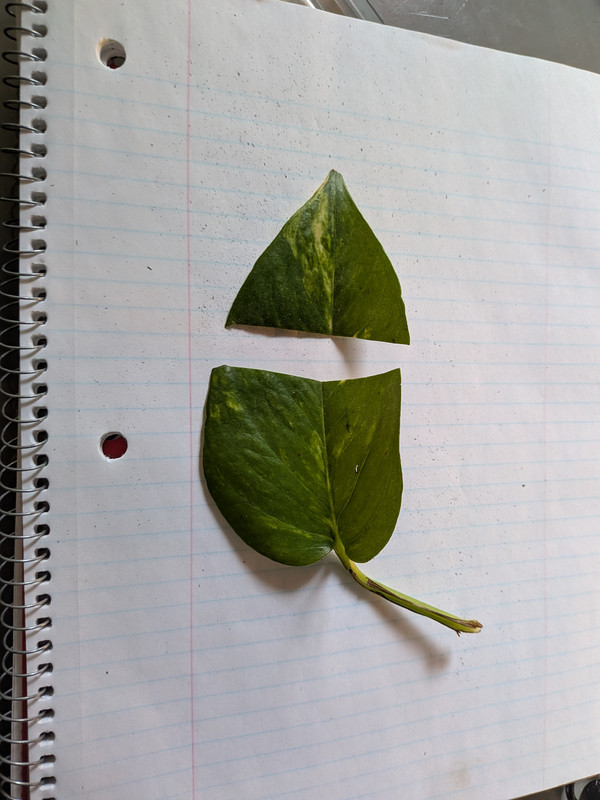
As for blue and purple together: I don’t recommend removing the topmost leaf or bud (also called an apical bud) because they help to regulate the growth hormones of the plant and will have a stronger growth response than leaves or buds further down. Cutting a leaf as pictured below will preserve that hormone regulator but give the plant less to maintain while new roots are forming.

- Props to her, and also to you for proper attribution
- Thank you for relaying that information
- I dunno, not plant them? But that would’ve been way less cool
The spots you picked to cut look good! I’d cut to favor blue, and let go of purple in favor of orange but great job. You can keep blue and purple on the same stem together, but if that pair look sad after a few days I’d recommend cutting across the leaves to remove 40-50% of each leaf. Doing that reduces the amount of water lost to respiration and the amount of leaf to maintain on reduced roots.
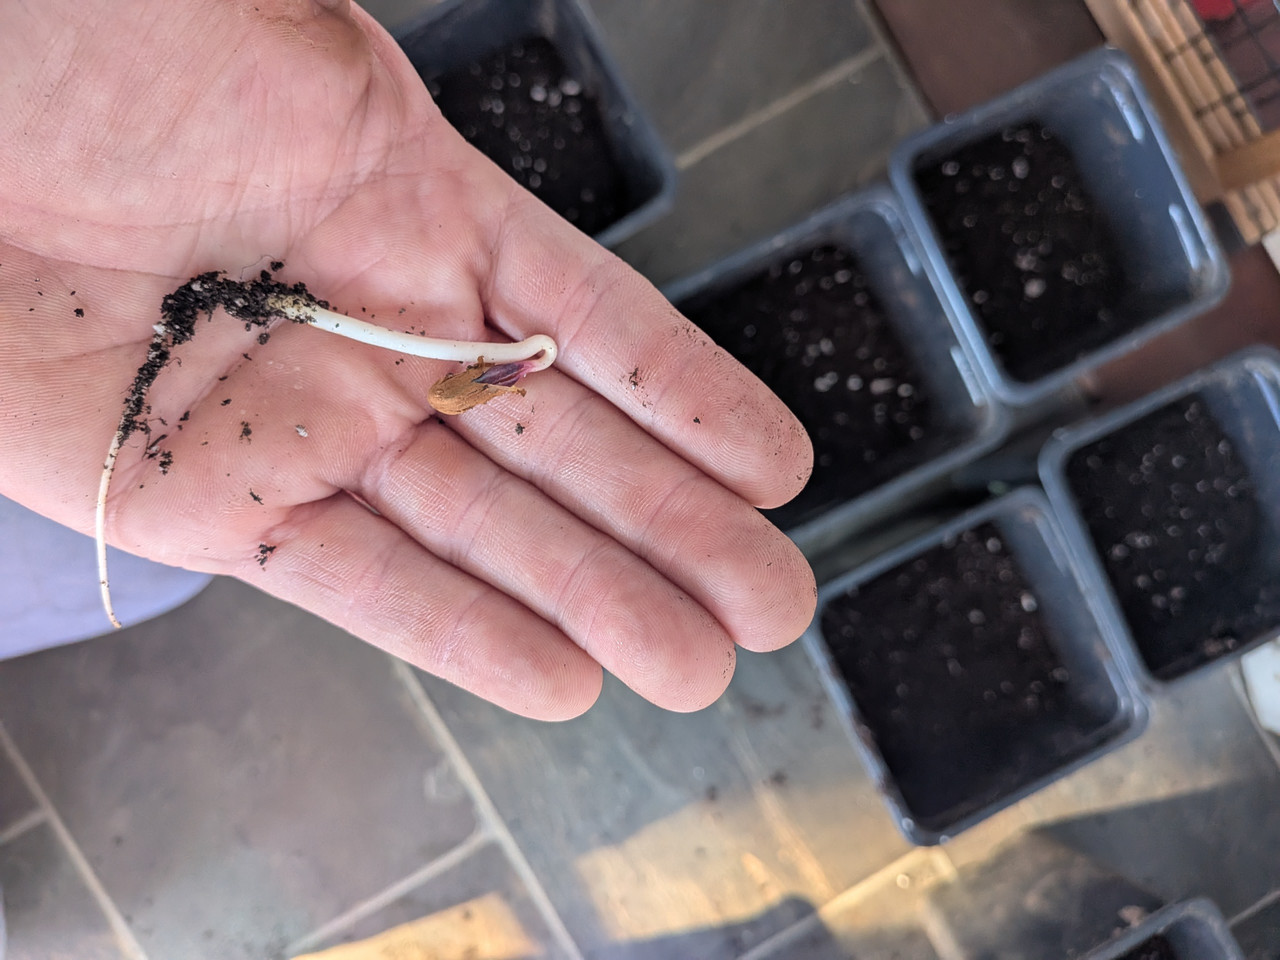
The ones you’ve rooted already look great. Another 2-3 days in water and they would be at a point where I would feel confident transferring them to potting soil. Keep in mind that those roots are delicate, so take care when you’re firming them into the pot.
Water changes every 2-3 days is a good practice, more often if you notice any cloudiness in the water. The cuttings will release a little bit of rooting hormone into the water as they grow, spurring on the others, but not usually enough to change the appearance of the water.
Beans, yo! You get +5 cool points for growing landrace plants, and another 5 for mob sowing in a pot!
Oh. Oh. That’s just not enough roots for that much stem. Let’s not be pessimistic though, because you have a lot of material to work with! It will take a few more days, but that’s okay too.First, I’m going to give you a picture of what I consider a good start for a rooted division, so you know the kind of look you’re aiming for at first.
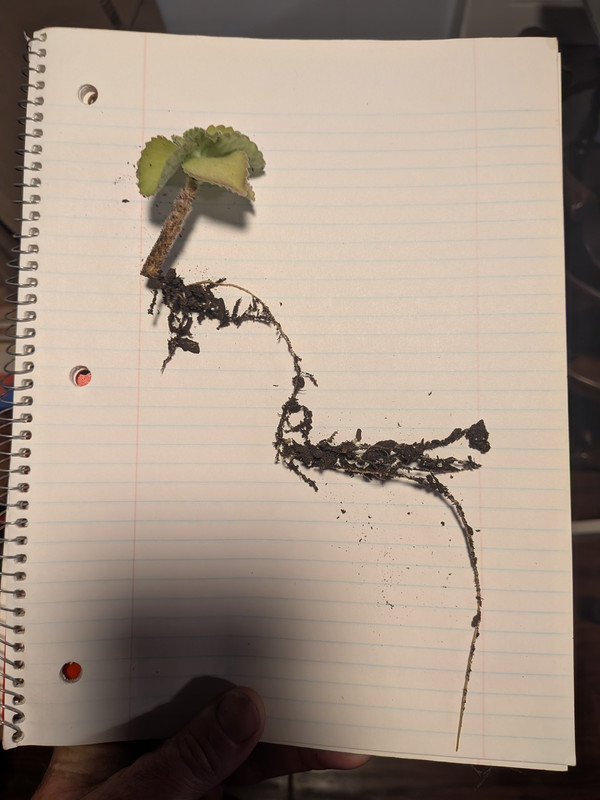
You’re going to want to make a few additional cuts to the stem, and a handful of leaves. The little brown nubs are root nodes - they are important, and you want at least two on every section you’re about to make. Think of the sections of stem as energy reserves, and do your best to make them long enough to stick out of the jar. It’s time to make more plants!
Get a sharp, sterile pair of garden shears. Starting from the rooted bit you have, find the first decent looking leaf. Cut the main stem right above where the leaf connects to it. Don’t damage the part where the leaf connects to the stem, because that’s where the rest of your new plant will come from at first. Now go further up the stem until you find another mostly green leaf, and cut just above that one too. Go up the stem til you get to the last good leaf. If you want more cuttings than that, select the best from what’s left. Remember about stem length.
Now remove every leaf that isn’t your topmost/ best of each cutting. Place all your new cuttings into the water jar and let them rest. You’ll start seeing some roots start to form after a few days, but if you pull your original rooted section when you see the others that’s what you’ll be looking for on the ones that stayed in your jar.
There are some succulent-specific substrate mixes you can find at garden stores, or you can see if your locally owned greenhouse will let you fill a bin with some of their high porosity substrate for a few bucks. Either would be good to mix with the bag you already invested in in order to balance out the moisture when you plant all your cuttings. If you don’t actually want that many, this is a good time of year (assuming you’re in the northern hemisphere) to donate the ones you don’t want to a plant sale for a good cause; libraries, food charities, land trusts, and your master gardener volunteer chapters are some of the kinds of orgs you could consider.
Do you have an idea of how much root mass there is? Too few roots and too much plant can lead to very harsh transplant shock, and the plant will abandon leaves and stem to rebalance itself. Best practice is to remove top growth when dividing to prevent the plant from going through enough shock to kill it (I run a small plant nursery and do lots of divisions).
I’d recommend removing it from the pot and substrate to place in water for a day or two - leave it somewhere without direct sunlight to help promote root growth over shoot growth. This will also give you an opportunity to gauge how much root mass there is compared to the rest of the plant. If they seem about even, don’t worry about cutting the stem back. If there’s more shoot than root, cut the stem back just above one of the leaf nodes.
Not to go overboard (too late?) but “moisture control” can apply to potting mixes that are high porosity (fast draining, low moisture holding) or those that have chemical wetting agents that hold water long after you’ve last applied any. If the moisture control stuff you got is from miracle gro I’d recommend taking some aside, placing it in a pot, and testing how long a given amount of water keeps it wet while you’re rehabilitating your plant. This will give you better information to set your watering routine once your plant is happier. If it holds too much water you can increase the porosity and draining potential by mixing in some all purpose sand (not playground sand, it’s too fine)

 0·28 days ago
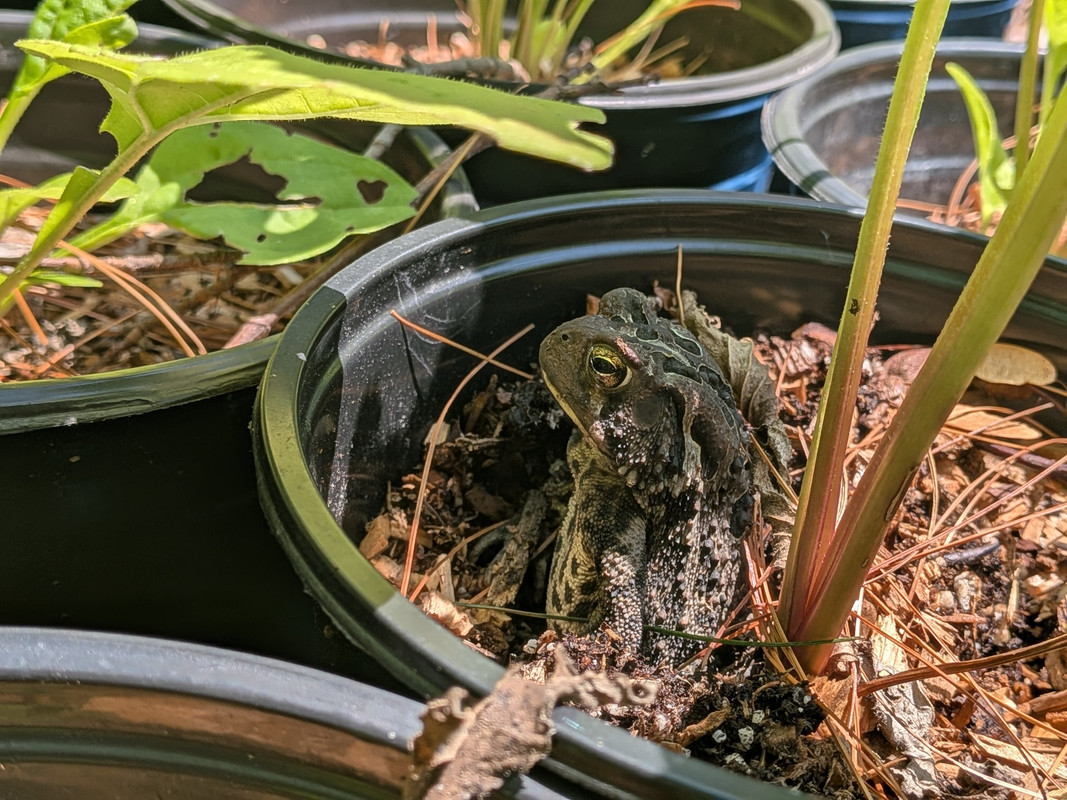
Could be fungus gnats though our occasionals seem smaller than what’s photographed.
What’s worked for us for long term control of soil born pests is a combination of bottom watering and a layer of coarse sand for mulch for our indoor plants. Playground sand is too fine and can prevent proper gas exchange in the substrate but builder’s sand works well. It’s probably less expensive to call a landscape supply place near you and fill a bucket than to buy it in a box store unless you have enough indoor plants to use 50lbs/22.7kg. We use a large clay tray pot for the bottom watering and then everybody goes back to their own tray after a drink.
Fungus gnats in particular lay in wet soil, and not very deep. A few mm of sand keeps them from finding any hospitable place to lay their eggs. The bottom watering helps prevent any disturbance of the sand mulch which might reveal wet soil.


 0·2 years ago
My understanding is that many of them have charters which have elected board positions, though there are some which are privately owned communities in which that is not the case. Those board meetings and elections tend to face the same engagement and participation challenges as municipal meetings and elections among the age groups best positioned/inclined to make the changes.
Armchair quarterback opinion, since I don’t have personal adult experience living in one, but I think it might be doable running with a “remove bs fees” position coupled with “remove petty board members” based on conversations with friends and internet strangers.
I keep trying to radicalize my HOA-laden friends to get some folks together and take over the boards in order to institute rules which would promote biodiversity, rather than sterile carbon copy neighborhoods.
Instead of fines for letting plants grow above certain heights, set ones for not having enough plants. Since that’s punitive and financially unavailable for some people, submit grant proposals and partnerships to have funding for additional plantings to support various threatened species or ecosystems as appropriate.
Any advice for balancing your own professional aspirations while prioritizing your partner’s career goals and your child’s physical/mental/emotional wellbeing is certainly appreciated